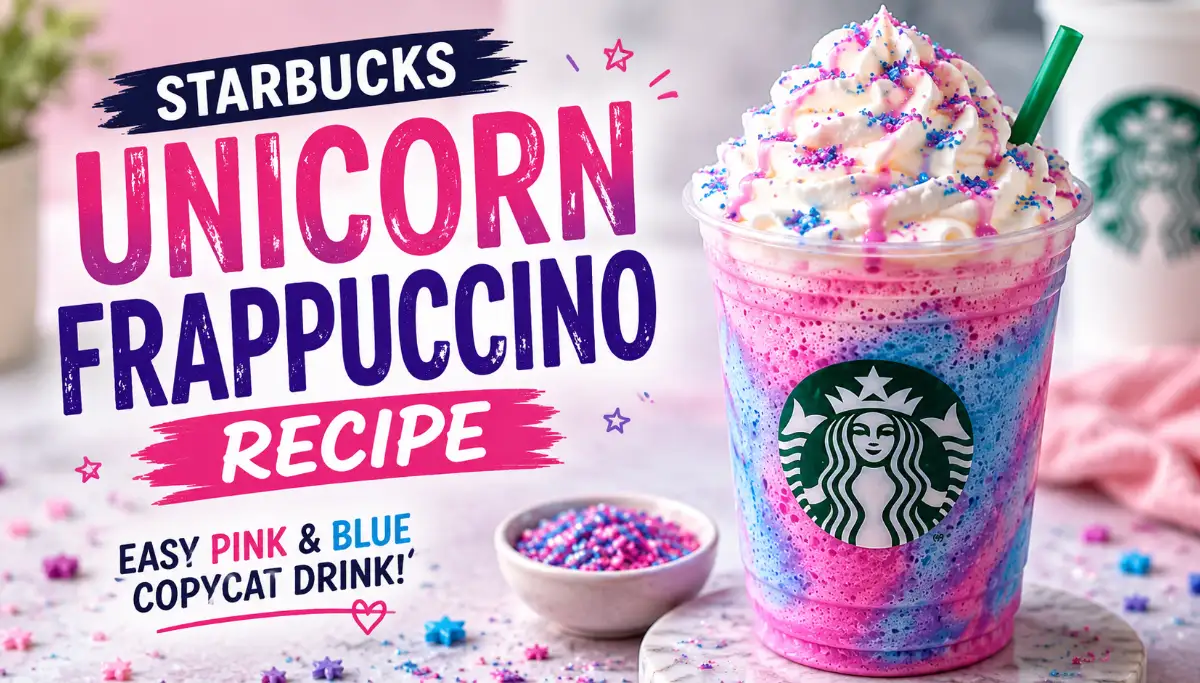
Starbucks Unicorn Frappuccino Recipe: The Starbucks Unicorn Frappuccino is one of those drinks that people remember as much for its appearance as for its flavor. With bright pink and blue colors, a creamy frozen texture, sweet flavors, and a playful presentation, it quickly became one of the most recognizable limited-time drinks from Starbucks.
When I first wanted to recreate this drink at home, I realized that I did not need complicated equipment or professional barista skills. With a blender, a few simple ingredients, ice, and colorful toppings, I could create my own homemade version that looks fun and tastes refreshing.
Hi, my name is Om Shinde. I am a chef, and I enjoy experimenting with simple ingredients in my kitchen. My family and relatives often try the recipes and drinks I prepare, and their feedback motivates me to keep creating easy recipes that anyone can make at home. I also enjoy sharing food and recipe ideas on social media.
This homemade version is inspired by the famous colorful drink rather than claiming to reproduce Starbucks’ proprietary recipe exactly. I have focused on creating a creamy, fruity, sweet, and visually striking frappuccino-style drink that is easy to prepare.
Recipe Overview
| Detail | Information |
|---|---|
| Prep Time | 10 minutes |
| Cook Time | 0 minutes |
| Total Time | 10 minutes |
| Cuisine | American-inspired |
| Course | Drinks |
| Servings | 2 |
| Estimated Cost | $5–$7 |
| Difficulty | Easy |
| Best Served | Immediately |
| Calories | Approximately 250–320 kcal per serving |
This recipe makes two medium servings. Because the drink contains ice and dairy, I recommend serving it immediately after blending for the best texture and appearance.
Why This Frappuccino Is So Different
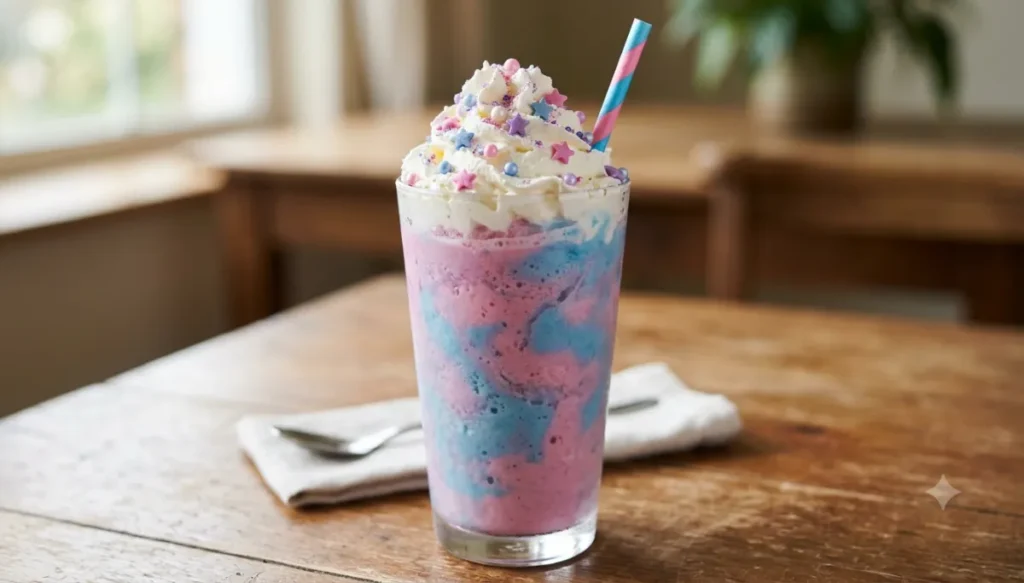
What makes this drink stand apart from an ordinary smoothie or milkshake is the combination of colors, creamy texture, fruity flavor, and sweet toppings.
The original Unicorn Frappuccino became famous for its colorful appearance and limited-time availability. That playful idea is what I wanted to capture in my homemade version.
I use a creamy vanilla-style base, a fruity element, and colorful layers to create the visual effect. The result is sweet, cold, creamy, and perfect for serving at parties, birthdays, summer gatherings, or simply when I want to make something fun at home.
The Ingredients Behind the Magic
| Ingredient | Quantity | Notes |
|---|---|---|
| Vanilla ice cream | 2 cups | Softened slightly |
| Cold milk | 1 cup | Whole milk works well |
| Mango or passion fruit juice | 1/2 cup | For fruity flavor |
| Ice cubes | 1 1/2 cups | Use fresh ice |
| Vanilla extract | 1/2 tsp | Adds aroma |
| Powdered sugar | 1 tbsp | Optional |
| Pink food coloring | 2–3 drops | Adjust as needed |
| Blue food coloring | 1–2 drops | For the blue layer |
| Whipped cream | As needed | For topping |
| Pink sugar | 1 tbsp | Optional |
| Blue sugar | 1 tbsp | Optional |
| White chocolate drizzle | 2 tbsp | Optional |
I recommend starting with a small amount of food coloring and adding more only if necessary. The goal is to create attractive colors without making the drink look artificial.
The fruity juice is also flexible. Mango or passion fruit works particularly well because both have a tropical character that pairs nicely with the creamy base.
Simple Equipment I Use
| Equipment | Purpose |
|---|---|
| High-speed blender | Blending the drink |
| Measuring cups | Measuring liquids |
| Measuring spoons | Measuring smaller ingredients |
| Two glasses | Serving |
| Small bowls | Mixing colors |
| Spoon | Stirring |
| Piping bag | Adding whipped cream |
| Straw | Serving |
A high-speed blender gives the smoothest texture, but a regular household blender can also work. I recommend blending in short intervals if your blender is not very powerful.
My Easy Way to Make It
Step 1: Prepare the Creamy Base
I start by adding vanilla ice cream, cold milk, mango or passion fruit juice, vanilla extract, and ice to the blender.
I blend everything until the mixture becomes thick and smooth.
I avoid blending for too long because excessive blending can melt the ice and make the drink thinner than I want.
Step 2: Check the Consistency
After blending, I check the texture.
I want the mixture to be thick enough to hold its shape but still easy to pour through a straw. If it looks too thick, I add a small splash of milk.
If it looks too thin, I add a few more ice cubes and blend again.
This small adjustment makes a noticeable difference in the finished drink.
Step 3: Create the Pink Base
I pour about half of the blended mixture into a separate bowl.
I add a couple of drops of pink food coloring and stir gently.
I continue adding tiny amounts until I get a bright pink shade that looks attractive without becoming too dark.
Step 4: Prepare the Blue Layer
I take the remaining blended mixture and add one or two drops of blue food coloring.
I stir carefully until the color is evenly distributed.
The blue portion should remain creamy and light. Using too much food coloring can make the drink look overly dark.
Step 5: Build the Colorful Layers
This is my favorite part.
I slowly pour the pink mixture into the serving glasses first. Then I carefully add some of the blue mixture.
I do not stir the colors together because keeping them slightly separated creates the playful layered appearance.
The colors do not need to be perfectly separated. A little blending between pink and blue can actually make the drink look more natural and colorful.
Step 6: Add the Whipped Cream
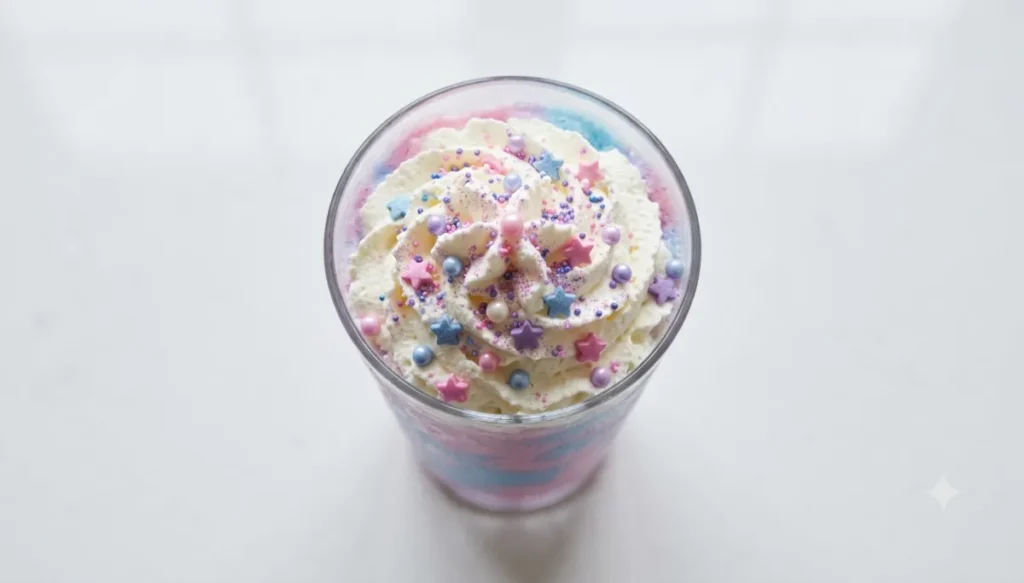
I add a generous swirl of whipped cream on top.
The whipped cream provides a soft white contrast against the colorful drink and also gives the finished glass a more dessert-like appearance.
Step 7: Add the Finishing Touches
I sprinkle a small amount of pink and blue sugar over the whipped cream.
For an extra sweet finish, I can add a thin white chocolate drizzle.
I keep the toppings fairly light because too many toppings can make the drink difficult to enjoy.
Step 8: Serve Immediately
Once the drink is decorated, I serve it immediately.
I like using a clear glass because it allows the pink and blue colors to remain visible.
A wide straw works particularly well because the drink is thick and creamy.
Read Also: Tom Hanks Favorite Coffee Recipe: A Creamy Malted Twist
How I Get the Best Color
The colors are probably the most important visual part of this recipe.
I always start with very small amounts of food coloring. It is much easier to make the color darker than it is to correct a drink that has become too bright.
For the pink portion, two or three drops are usually enough for a light colorful appearance. For the blue portion, I start with one drop and increase it only when necessary.
I also recommend using clear or white serving glasses rather than dark-colored mugs. The colorful layers look much better when they are clearly visible.
The Flavor Balance I Prefer
Because this is a sweet frozen drink, I do not recommend adding too much extra sugar.
The vanilla ice cream already contributes sweetness, while the fruit juice provides additional flavor. I taste the blended base before adding powdered sugar. If the fruit juice is already sweet, I may skip the extra sugar completely.
For a stronger tropical flavor, I can slightly increase the mango or passion fruit juice. However, I keep the amount controlled because too much liquid can make the frappuccino thin.
Easy Variations I Like
Make It Extra Fruity
For a stronger fruit flavor, I add a little extra mango or passion fruit juice. I can also use a small amount of frozen mango instead of some of the ice. This gives the drink a more natural fruity taste while maintaining thickness.
Make It Creamier
If I want an especially creamy drink, I use whole milk and slightly softened vanilla ice cream. The combination produces a thick texture that feels closer to a dessert.
Make It Less Sweet
I skip the powdered sugar and reduce the amount of sweet toppings. The ice cream still provides sweetness, so the drink remains enjoyable without additional sugar.
Make a Dairy-Free Version
A dairy-free vanilla frozen dessert and plant-based milk can be used to create a dairy-free version. The exact texture will depend on the products used, so I recommend adjusting the liquid gradually.
When I Like to Serve This Drink
This is not the kind of drink I make only when I am thirsty. I usually make it when I want something visually exciting. It works especially well for birthday parties, family gatherings, summer celebrations, movie nights, and children’s parties.
I also think it makes a fun weekend treat because the preparation itself is enjoyable. Building the pink and blue layers gives the recipe a little more personality than an ordinary blended drink.
Storage and Make-Ahead Tips
I recommend serving this drink immediately because the ice begins melting as soon as it is blended. If the mixture is stored for too long, it can become thinner and lose the thick frappuccino-style texture.
If I need to prepare something ahead of time, I prefer measuring all the ingredients and preparing the toppings in advance. Then I blend the drink just before serving. I also recommend keeping the whipped cream and colorful toppings separate until the last moment.
Nutrition Information
The following values are approximate and will vary according to the specific ice cream, milk, juice, toppings, and portion size used.
| Nutrient | Approx. Per Serving |
|---|---|
| Calories | 250–320 kcal |
| Carbohydrates | 38–48 g |
| Protein | 5–7 g |
| Fat | 8–12 g |
| Sugar | 28–38 g |
| Fiber | 0–2 g |
| Sodium | 80–150 mg |
| Calcium | Moderate amount |
These numbers are estimates rather than laboratory-tested nutritional values. Using different brands or reducing the toppings can significantly change the final nutrition profile.
Frequently Asked Questions
What is a Starbucks Unicorn Frappuccino?
The Starbucks Unicorn Frappuccino was a colorful limited-time blended beverage known for its bright pink and blue appearance, sweet fruity flavors, creamy texture, and playful presentation.
Can I make a Unicorn Frappuccino at home?
Yes. I can make a homemade copycat-style version using vanilla ice cream, milk, fruit juice, ice, food coloring, whipped cream, and colorful toppings.
Does this recipe contain coffee?
This particular homemade version does not require brewed coffee. It is designed as a fruity, creamy frappuccino-style drink rather than a traditional coffee-based beverage.
What fruit flavor works best?
I like mango or passion fruit because both provide a tropical flavor that works well with the creamy vanilla base.
How do I make the drink pink and blue?
I divide the blended base into two portions and add pink food coloring to one portion and blue food coloring to the other.
Can I make it without food coloring?
Yes. The drink will not have the same bright pink and blue appearance, but you can use naturally colorful fruit ingredients to create different shades.
Why is my frappuccino too thin?
The most common reason is too much liquid or excessive blending. Add a few more ice cubes or frozen fruit and blend briefly until the desired consistency returns.
Can I use frozen fruit instead of ice?
Yes. Frozen mango can work particularly well because it adds both thickness and fruit flavor.
Can I make this drink less sweet?
Yes. Skip the powdered sugar and reduce the sweet toppings. You can also use a less-sweet frozen dessert if preferred.
How long does the drink last in the refrigerator?
For the best texture and appearance, I recommend serving it immediately rather than storing the finished drink. The ice will melt and make the drink thinner.
Conclusion: The Starbucks Unicorn Frappuccino became memorable because it turned an ordinary blended drink into something colorful, playful, and completely different from a standard coffee beverage. My homemade version takes that same colorful idea and makes it practical for a normal kitchen.
I especially enjoy this recipe because I can control the sweetness, fruit flavor, thickness, and colors. I do not need professional equipment, and the entire drink can be prepared in around 10 minutes.
If you are looking for a fun homemade drink for a party, summer gathering, birthday celebration, or weekend treat, this colorful copycat-style recipe is worth trying. The pink and blue layers make it look special, while the creamy tropical flavor keeps it enjoyable from the first sip to the last.
Starbucks Unicorn Frappuccino Recipe: My Easy Pink-and-Blue Copycat
A creamy, colorful homemade frappuccino-style drink made with vanilla ice cream, milk, tropical fruit juice, ice, and playful pink and blue toppings.
Type: Beverage
Cuisine: American-inspired
Keywords: Starbucks Unicorn Frappuccino recipe, Unicorn Frappuccino copycat, pink and blue frappuccino, homemade frappuccino, colorful frozen drink
Recipe Yield: 2 servings
Calories: 285
Preparation Time: PT10M
Cooking Time: PT0M
Total Time: PT10M
Recipe Ingredients:
- 2 cups vanilla ice cream
- 1 cup cold milk
- 1/2 cup mango or passion fruit juice
- 1 1/2 cups ice cubes
- 1/2 teaspoon vanilla extract
- 1 tablespoon powdered sugar
- 2–3 drops pink food coloring
- 1–2 drops blue food coloring
- Whipped cream, as needed
- 1 tablespoon pink sugar
- 1 tablespoon blue sugar
- 2 tablespoons white chocolate drizzle
Recipe Instructions: Add vanilla ice cream, cold milk, mango or passion fruit juice, vanilla extract, and ice to a blender. Blend until thick and smooth. Divide the mixture into two portions. Add pink food coloring to one portion and blue food coloring to the other. Stir each portion gently. Pour the pink mixture into serving glasses, followed by the blue mixture to create a colorful layered effect. Top with whipped cream, pink and blue sugar, and optional white chocolate drizzle. Serve immediately while cold and thick.